

How to Repair Wall Cracks for a Smooth Finish
A fresh coat of paint can make a room feel completely renewed, but it will not hide a crack for long. To repair wall cracks properly, the first step is understanding why they appeared. Some are normal signs of a home settling or changes in temperature and humidity. Others point to movement, moisture, or a repair that needs more than filler and paint.
For most homeowners, the goal is simple: a wall that looks smooth now and stays that way after the project is complete. Taking a little time to assess the crack before painting helps prevent a frustrating repeat repair a few months later.
What Type of Wall Crack Are You Seeing?
Not every crack deserves the same response. A thin, shallow line in drywall is often cosmetic, especially around doors, windows, and joints where materials naturally shift a little over time. These hairline cracks can usually be repaired as part of normal interior painting preparation.
A wider crack, a crack that returns repeatedly, or one with uneven edges needs a closer look. The same is true if you see staining, soft drywall, bubbling paint, or a crack that follows a long diagonal path from a window or door corner. Those signs may indicate moisture or more significant movement behind the surface.
In Florida homes, humidity can also affect building materials and paint finishes. That does not mean every crack is serious, but it does make proper surface preparation especially worthwhile. Filling a damp or unstable area simply covers the problem temporarily.
Cosmetic Cracks vs. Cracks That Need Evaluation
Small cracks are commonly found where drywall panels meet, along inside corners, or near trim. If the crack is narrow, dry, and does not appear to be changing, it is generally a good candidate for a standard drywall repair.
Consider bringing in a qualified professional for evaluation before painting if you notice any of these conditions:
A crack wider than about 1/8 inch or one that continues to widen
A horizontal or long diagonal crack, particularly in a block, stucco, or masonry wall
Doors or windows that suddenly stick, along with new cracks nearby
Water stains, dampness, mold, peeling paint, or soft areas around the crack
Repaired cracks that keep reopening in the same location
The right next step depends on the wall material and the cause. Drywall seams can often be reinforced and refinished. Cracks in plaster, stucco, masonry, or areas affected by water may require a more specialized repair before any finish work begins.
Prepare Before You Repair Wall Cracks
A clean, stable surface is what makes a repair blend into the rest of the wall. Rushing through this stage is one reason a filled crack can show through a new paint job.
Start by lightly pressing around the crack. The wall should feel firm, dry, and secure. Remove loose paint or crumbling joint compound with a putty knife, then gently widen a very fine drywall crack into a shallow V shape. This gives the patching material enough surface to grip instead of sitting on top of a narrow opening.
For a typical drywall repair, keep these basic materials on hand:
Putty knife or flexible taping knife
Sanding sponge or fine-grit sandpaper
Lightweight spackling or joint compound
Drywall tape for cracks along seams or corners
Primer and matching wall paint
Protect floors and nearby furniture before sanding. Fine drywall dust spreads farther than most people expect, especially in furnished rooms. Wipe the repaired area with a clean, dry cloth once sanding is complete so primer can adhere evenly.
A Reliable Method for Small Drywall Cracks
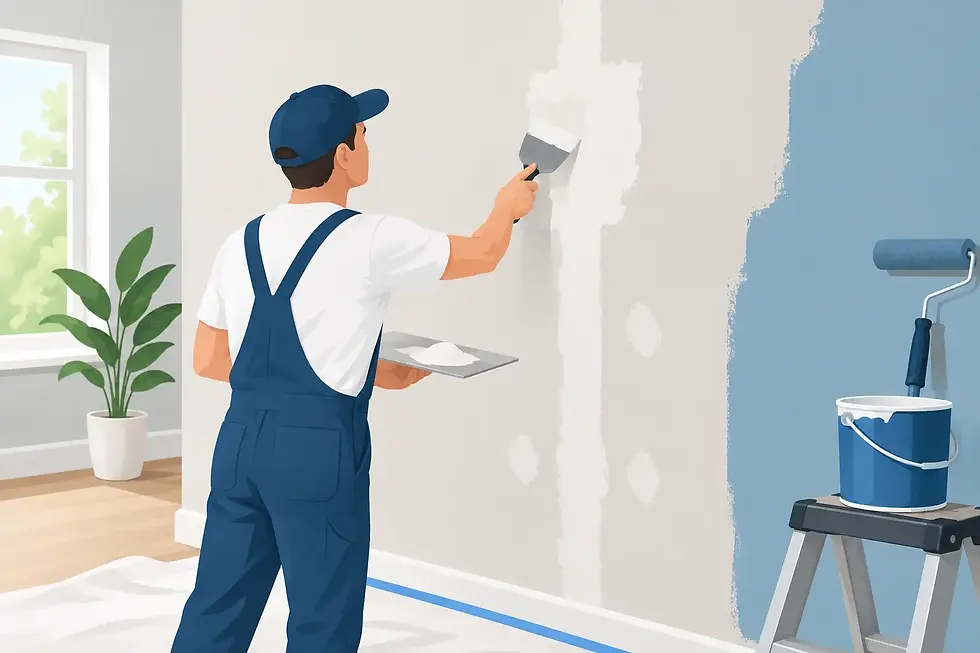
For a simple hairline crack, apply a thin layer of spackling or joint compound with a flexible knife. Press the material into the crack rather than merely dragging it across the surface. Then feather the edges several inches beyond the repair, using light pressure to avoid leaving a raised ridge.
Let the first coat dry fully. Drying time varies by product, room temperature, and humidity, so follow the product directions instead of relying on the surface feeling dry to the touch. Sand lightly until the patch feels level when you run your hand over it. A second thin coat is often what creates a truly invisible result.
Cracks along a drywall seam need additional support. After removing loose material, apply joint compound, set drywall tape over the crack, and smooth it into place. Cover the tape with a thin coat of compound, extending the edges beyond the tape. Once dry, add one or two wider feathered coats, allowing each coat to dry and sanding gently between applications.
Inside corners may call for paper tape rather than a quick bead of caulk. Caulk can be useful for a small gap between trim and wall, since it remains flexible. It is usually not the best long-term solution for a drywall seam that has separated, because the underlying joint still needs reinforcement.
Prime the Patch Before Painting
Skipping primer is a common mistake after drywall repair. Joint compound is more porous than painted drywall, so paint can soak in differently and leave a dull spot known as flashing. The wall may look smooth from one angle and noticeably patched when daylight hits it.
Apply a quality primer over the repaired area, extending slightly beyond the patch. After it dries, inspect the wall in both natural light and room lighting. Look along the wall from the side rather than straight on. This low-angle view reveals ridges, shallow spots, and sanding marks that are easy to miss otherwise.
If the surface still looks uneven, make one more light application of compound, sand, prime, and inspect again. This extra step takes patience, but it is far easier than repainting an entire wall because a repair catches the light.
When painting, use the same sheen as the existing wall. Flat paint is generally the most forgiving for minor wall imperfections, while eggshell, satin, and higher-sheen finishes reflect more light and can make uneven repairs more visible. If touch-up paint does not blend because the existing paint has faded or aged, painting the full wall from corner to corner usually produces the cleanest finish.
When a Professional Repair Is the Better Choice
DIY repair works well for minor, stable drywall cracks. It becomes less practical when the crack is extensive, keeps returning, involves textured walls, or appears alongside moisture damage. A professional can identify whether the issue is primarily cosmetic, repair the surface correctly, and prepare it for a consistent painted finish.
This can be particularly valuable before an interior repaint, cabinet project, or remodeling update. New paint draws attention to wall surfaces, and an otherwise beautiful room can feel unfinished when cracks, uneven patches, or mismatched sheen remain visible.
A careful painting contractor will not treat every crack as identical. They should explain what they see, discuss whether additional evaluation is needed, and provide a clear plan for surface preparation before paint is applied. That straightforward communication helps homeowners make decisions without unnecessary pressure.
Give the Repair Time to Prove Itself
After repairing and painting a crack, keep an eye on the area over the next several months. A stable repair should remain smooth as the seasons change. If it reopens, do not keep adding layers of filler without addressing the reason it is moving.
A well-prepared wall gives paint the smooth, polished appearance homeowners expect. Whether the repair is a simple hairline crack or part of a larger refresh, the best result comes from treating the surface with the same care as the color you choose. If you would rather have an experienced team assess the condition and handle the finish work, a free estimate can offer a clear, low-stress place to start.


Comments