

Room Painting Preparation Checklist for a Clean Finish
A fresh wall color can make a familiar room feel completely different, but the quality of the finished job is decided before the first coat goes on. This room painting preparation checklist helps homeowners protect their space, avoid preventable delays, and create the clean conditions needed for a smooth, even finish.
Preparation can feel like the less exciting part of a painting project. Still, moving furniture, repairing wall damage, and controlling dust are what keep paint where it belongs and help the new color look polished for years to come. Whether you are preparing to paint yourself or getting ready for a professional crew, a little planning makes the entire experience easier.
Room Painting Preparation Checklist
Choose the color and finish before the room is cleared
Confirm your paint color, sheen, and the surfaces included in the project before you start moving furniture. Color can look very different between a small sample and a full wall, especially in rooms with strong natural light or warm artificial lighting. Test a sample on more than one wall and check it in the morning, afternoon, and evening.
Sheen matters, too. Flat and matte paints soften minor wall imperfections, but they can be harder to clean. Eggshell and satin finishes are popular choices for living rooms, hallways, and bedrooms because they offer a gentle sheen with better washability. Kitchens, bathrooms, trim, and doors often need a more durable finish. The right choice depends on how the room is used, not just the look you want.
Remove what can be removed
Take down wall art, mirrors, curtains, blinds, removable shelving, and outlet cover plates whenever possible. Painting around these items leaves more edges to cut in and increases the chance of missed spots or uneven lines.
Small hardware and cover plates are easy to misplace, so put screws in labeled bags and keep them in one safe location. If a heavy mirror, mounted television, or built-in feature cannot be moved, let the painter know before the project begins. It may need extra protection or a different approach.
Clear furniture and protect what stays
The best option is to move furniture out of the room entirely. An open space gives painters room to work safely, improves access to corners and baseboards, and reduces the chance of accidental damage.
When large pieces must stay, move them toward the center of the room. Leave enough space around the walls for ladders, extension poles, and careful cutting in. Cover furniture with clean plastic or canvas drop cloths rather than old sheets, which can allow dust and paint drips through.
Protect floors with properly secured drop cloths. Canvas is a dependable choice for hard flooring because it stays in place and absorbs small splatters. Plastic can be useful beneath canvas or around furniture, but it can become slippery if used by itself in a walking area. A professional painter will bring floor protection, but homeowners can make the first day run more smoothly by clearing paths and identifying delicate flooring in advance.
Clean the walls, trim, and nearby surfaces
Paint sticks best to clean surfaces. Dust, cooking residue, handprints, hairspray, and pet oils may not be obvious from across the room, but they can interfere with adhesion or show through a new finish.
Use a lightly damp microfiber cloth on most walls. In kitchens, laundry rooms, and high-touch areas, a mild degreasing cleaner may be needed. Rinse away cleaner residue with a clean damp cloth, then allow the surfaces to dry fully. Avoid soaking drywall, especially around seams, patches, and window areas.
Do not forget baseboards, door frames, window trim, and the tops of doors. These areas collect dust quickly. A clean surface creates a better bond and helps the final paint job look consistently cared for from wall to trim.
Identify repairs before painting starts
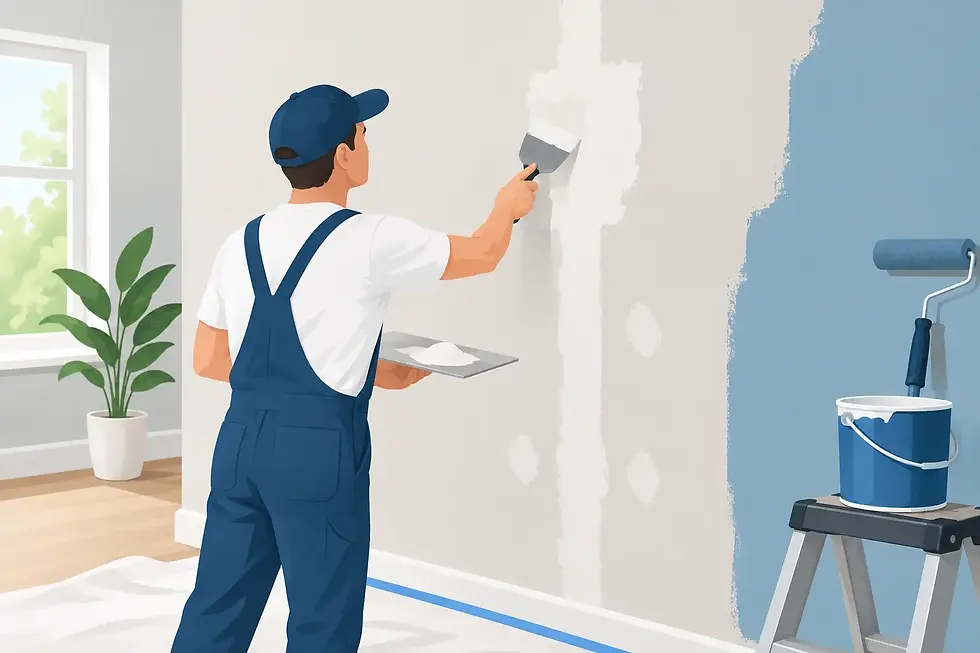
Walk through the room with the lights on and look at the walls from different angles. Mark nail holes, dents, peeling areas, hairline cracks, water stains, and loose caulk. Painter's tape or removable notes work well for flagging repairs without damaging the surface.
Small holes and shallow dents can often be filled and sanded smooth. Larger cracks, recurring stains, soft drywall, or peeling paint may point to a moisture issue or previous repair that needs more attention. Painting over an active leak or damaged substrate only hides the issue temporarily.
Water stains deserve special care. The source of the water should be corrected first, and a stain-blocking primer may be necessary before the finish coat. This is one area where skipping a step can lead to stains returning through fresh paint.
Prep Details That Protect the Finish
Make a plan for pets, children, and daily routines
A painting project is easier when the room can remain quiet and accessible. Arrange a safe place for pets away from open doors, cords, tools, and freshly painted surfaces. Keep children out of the work area until the paint and protective materials are removed.
Think through your household routine as well. If a bedroom, nursery, home office, or kitchen will be painted, decide where daily activities will move during the work. Interior paint is often dry to the touch within hours, but full curing takes longer. Plan enough time before returning furniture, hanging artwork, or washing freshly painted walls.
Maintain the right room conditions
Florida humidity can affect how paint dries, particularly during rainy periods or when a home has limited air circulation. Interior painting generally benefits from moderate temperatures, controlled humidity, and steady airflow. Extreme heat, very high humidity, or an overly cold room can slow drying and affect how the paint levels.
Keep windows and doors managed according to the painter's recommendations. Fresh air can help in some situations, but open windows can also bring in pollen, dust, or moisture. Air conditioning can help maintain stable indoor conditions, though direct airflow should not blow heavily across a freshly painted wall.
Set aside valuables and fragile items
Before work begins, remove electronics, family photos, collectibles, plants, and small decorative items from the room. A covered item is safer than an exposed one, but relocation is the better choice for anything sentimental, fragile, or difficult to replace.
This is also a good time to secure medications, personal documents, and valuables in a separate area of the home. Clear communication creates a more comfortable experience for everyone and allows the painting team to focus on the work without navigating around important belongings.
Confirm the project scope and access
A quick conversation before painting day prevents many common misunderstandings. Confirm which walls, ceilings, trim, doors, closets, and repairs are included. If there are areas you do not want painted, point them out clearly.
Make sure the crew has a clear place to park, access to the home, and a path to the room. Mention alarm systems, gate codes, pets, or any parts of the home that require special care. If you have a preferred start time or need to work from home, share that early so expectations are realistic.
At Eventide Painting Company, personalized attention starts with these practical details. A clear plan helps protect your home and gives the crew the information needed to deliver the finish you expect.
A Final Walk-Through Before Painting Day
Use this final check the evening before the project begins:
Wall décor, curtains, and removable hardware are down.
Furniture is removed or centered and covered.
Floors and clear walking paths are accessible.
Walls have been cleaned and repair areas identified.
Pets, valuables, and fragile belongings have been moved.
Color, sheen, project scope, and access details have been confirmed.
If you cannot complete every item, do not worry. Let your painter know what remains so the plan can be adjusted before work begins. Thoughtful preparation is not about creating extra work for your household. It is about giving your new paint the clean, protected canvas it needs to make your room feel finished, comfortable, and ready to enjoy.


Comments